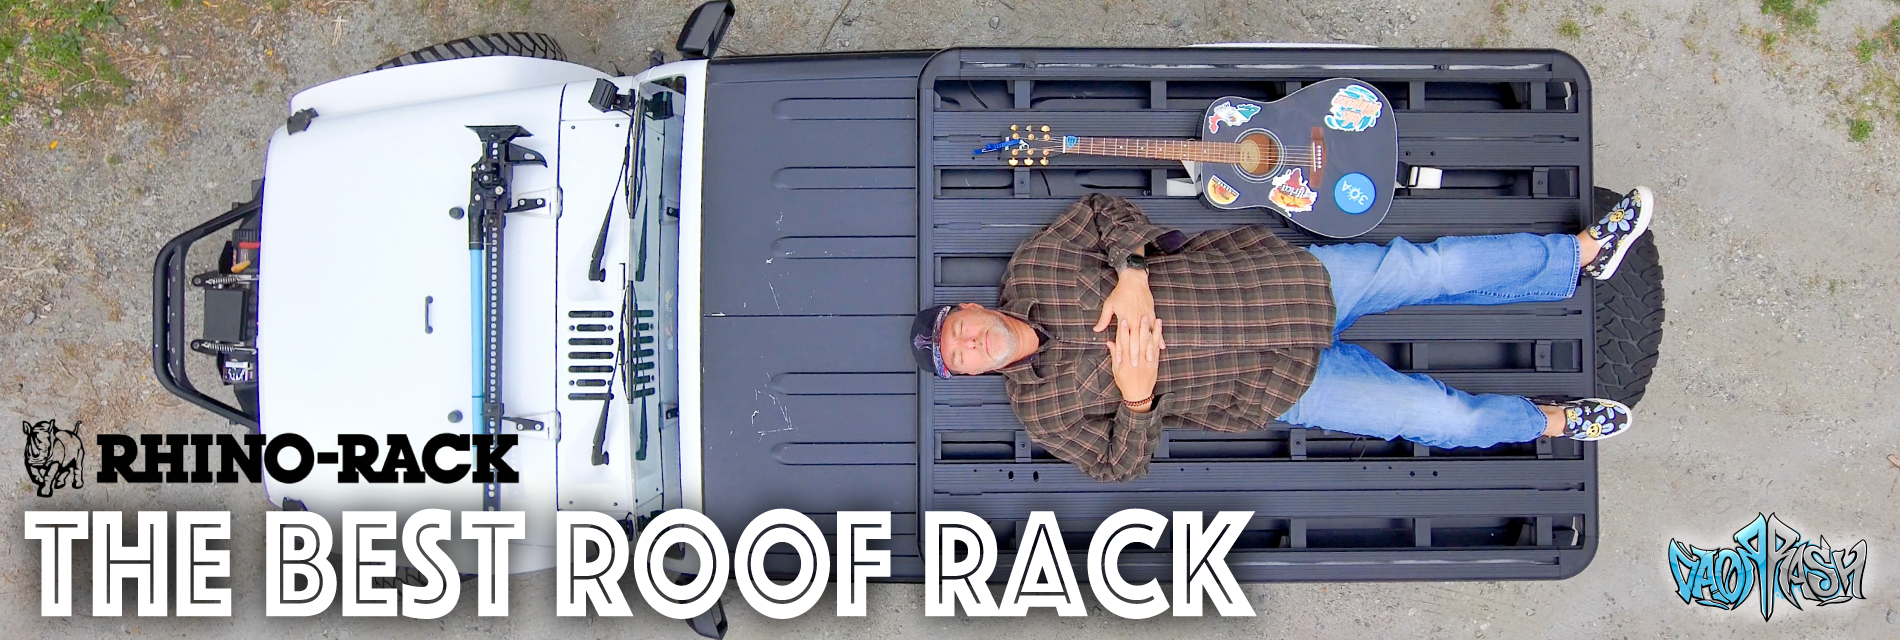
Elevating Our Overlanding Game With Our Rhino Rack Backbone Platform
Recently, we evaluated our Overlanding rig and identified upgrade needs to make our 2024 trips safe and successful. We are filming and launching a new YouTube series called Overland Overhaul. Our first video is our roof rack system. With the addition of a rooftop tent this year, our roof rack needed to accommodate the additional weight. After careful research and consideration, I decided to install the Rhino Rack Backbone Platform roof rack, and let me tell you, it’s been a game-changer.

Smittybilt Defender Roof Rack

In a comprehensive video documenting the entire process, we delved into upgrading our roof rack system, starting with a review of our previous setup, the Smittybilt Basket Style Defender Roof Rack. While it served its purpose, we discussed its pros and cons and highlighted the necessity for an upgrade to meet our evolving needs.
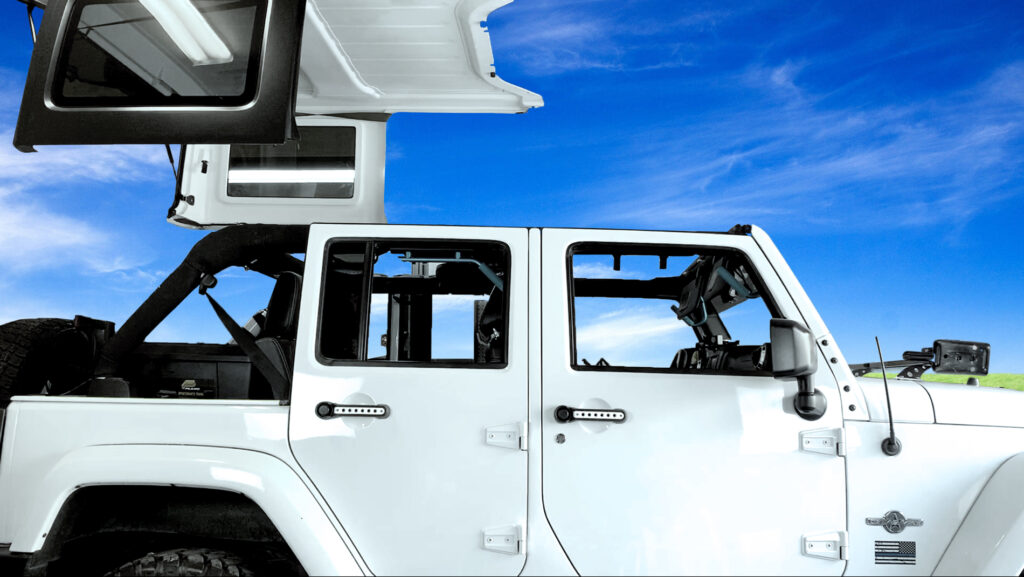
DIY Garage Hardtop Hoist
But what truly sets this installation apart is our innovative DIY electric hard top hoist, crafted right in our garage. This ingenious creation streamlined the removal and storage of our hardtop, adding both convenience and functionality to our Jeep setup. With the hardtop safely stowed away, it was time to tackle the main event: installing the Rhino Rack Backbone system.
Installation Of Our Rhino Rack Backbone Platform
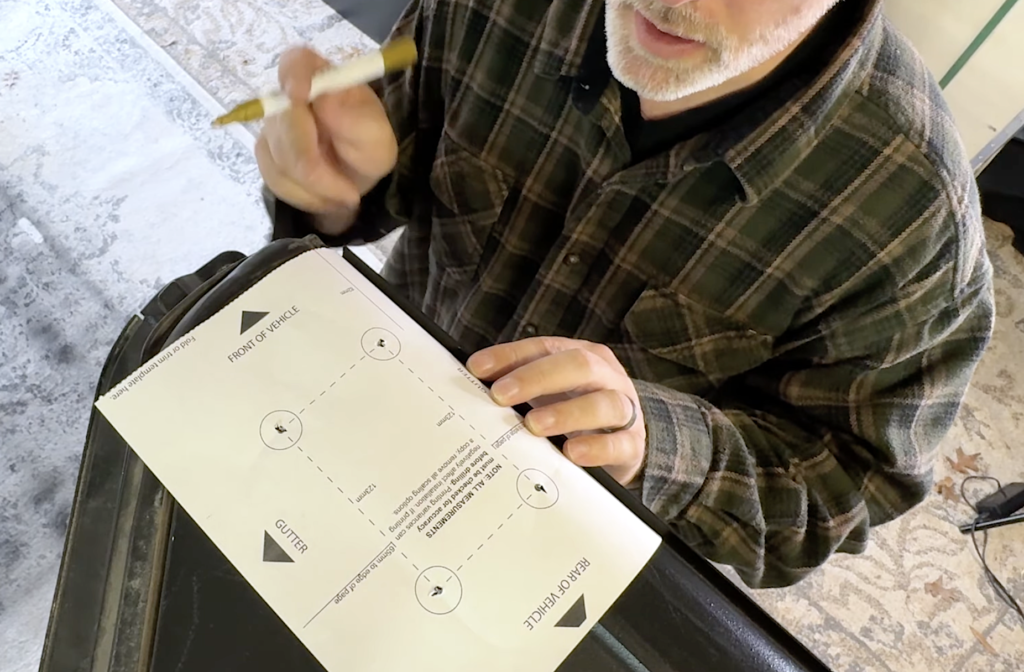
We meticulously marked the holes using the Rhino Rack pieces as templates and proceeded to pre-drill them with precision. Starting with a 1/8″ bit, we escalated to a 1/4″ drill bit for the middle and back holes to ensure a secure fit. However, the front holes demanded special attention, requiring a step bit to open them up to the precise measurements of 16mm and 18mm for the bottom and top holes, respectively.
Attention to detail was paramount throughout the installation process to achieve a flawless result. After much research and asking questions, our friends Will and Kate with Venture2Roam gave us some great advice. They suggested we visit our local hardware store, buy some wing nuts (used to tighten your lawn mower handle on) and replace the nuts on the included screws. This makes hand tightening a breeze when installing and removing your RTT. With the Backbone system securely in place, we seamlessly integrated the platform rack onto it. Using our DIY hardtop hoist once more, we effortlessly lifted the rack into the air and mounted it onto the Backbone system, completing the ultimate roof rack setup for our Jeep Wrangler JK.
The Rhino Rack Backbone Platform has exceeded our expectations in terms of durability, functionality, and aesthetics. Its robust construction inspires confidence, knowing that it can handle the rigors of off-road adventures while providing ample space for gear and equipment.
Not only does the Rhino Rack Backbone Platform enhance the overall look of our Jeep, but it also elevates its performance on and off the trail. Whether we’re traversing rocky terrain or embarking on a cross-country expedition, we have peace of mind knowing that our gear is securely stowed atop our vehicle.
If you’re ready to elevate your overlanding game and transform your Jeep into the ultimate adventure machine, look no further than the Rhino Rack Backbone Platform. With its combination of strength, versatility, and ease of installation, it’s a must-have accessory for any avid off-roader.
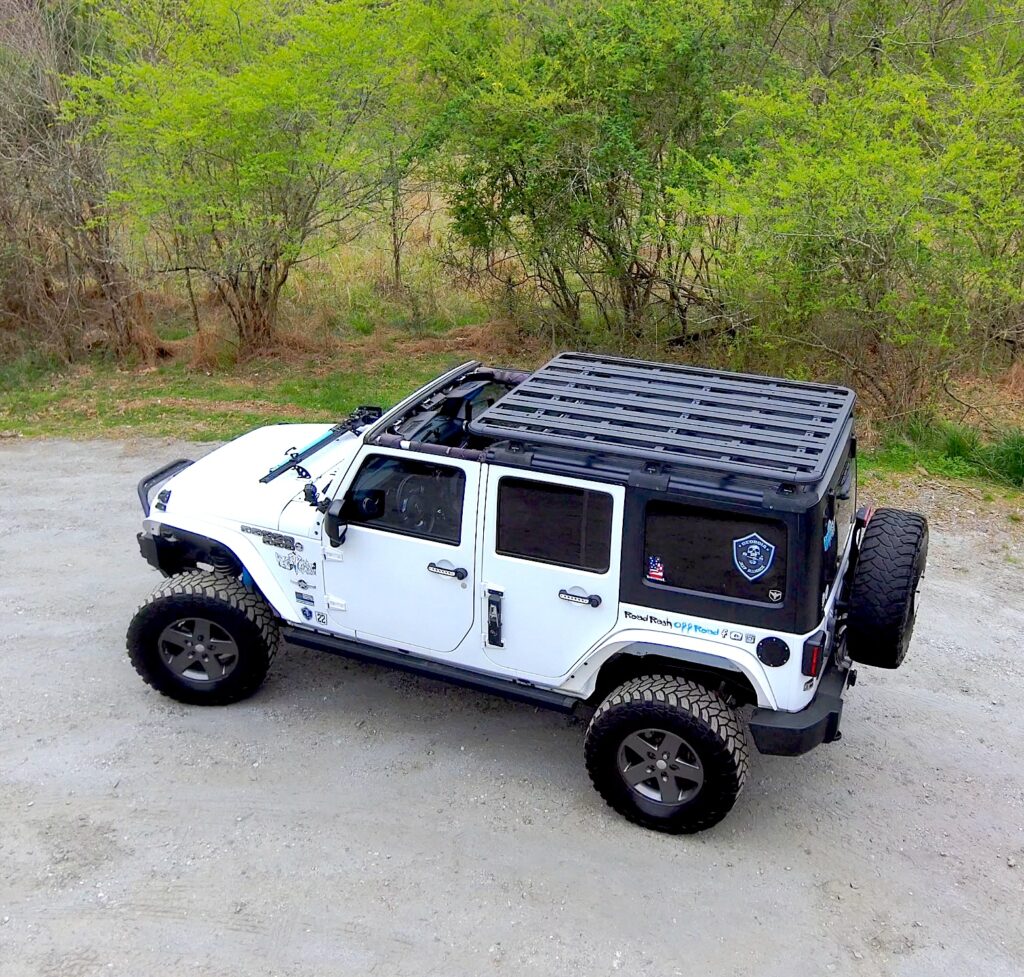
Join us on this as we install our new Rhino Rack Backbone Platform on the Road Rash Jeep and discuss our thoughts on choosing this roof rack for our overlanding needs. Your next overlanding adventure awaits, and with the right equipment, the sky’s the limit.

